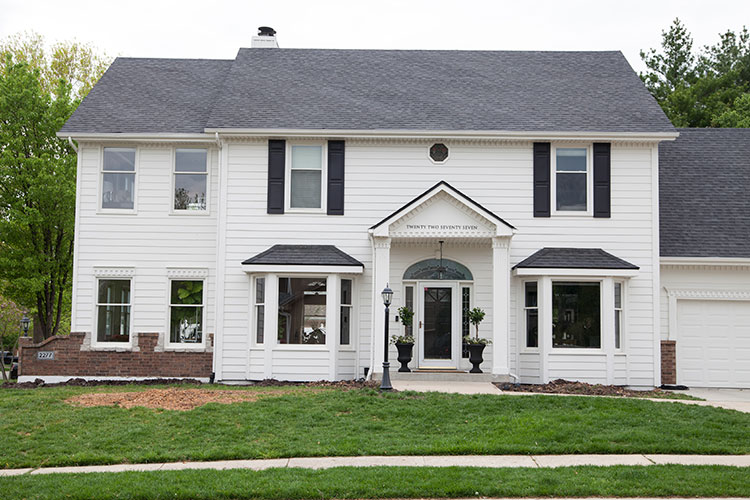
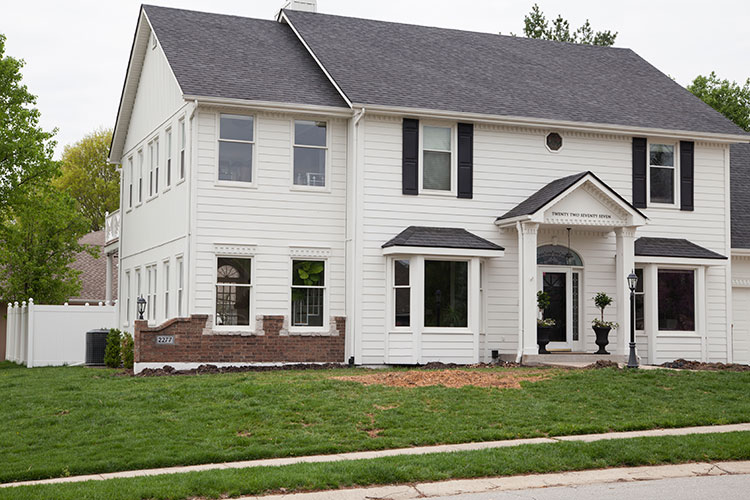
Last weekend Micah took the front yard tree down see the befores here. It’s a bit more laborsome then you might think. Micah cut the tree down limb by limb and then the trunks. We all helped load limbs and trunk sections into a trailer that had to be hauled off and dumped twice. Micah then got a grinder to grind down the stump and the roots that had made their way up out of the ground. When that was done he used a mini bobcat to shovel it all up, and since we had the bobcat, we decided to take the front landscaping out with the machine power. The kids and I had dug some of the bushes out by hand, but we kept running into landscape rock and really thick roots. Using cables Micah wrapped the bushes with one end and attached the other end to the bucket. It was pretty fun to watch him pull the shrubs and bushes out, one by one. A lot more fun then hand digging them all, ha.
More on what we’ll be doing with the landscaping in another post. We have a while until that comes to fruition, but in the meantime, I decided I didn’t want it to appear like we had totally given up on the front of our house. The yard and beds may be a mess, but I still want to greet guests with something pretty. I headed to Colonial Gardens, my favorite local nursery, and they helped me pick some beauties to fill my front urns. I got these urns at Lowe’s last fall to hold my Halloween trees in, and I love the size of them. So let’s talk about how I filled them, shall we? This is probably the most traditional way to fill a pot and works for all kinds of styles.
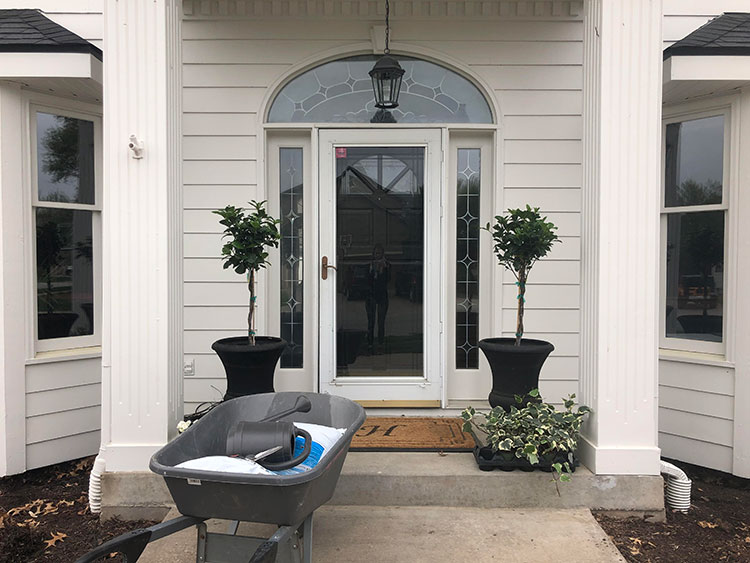
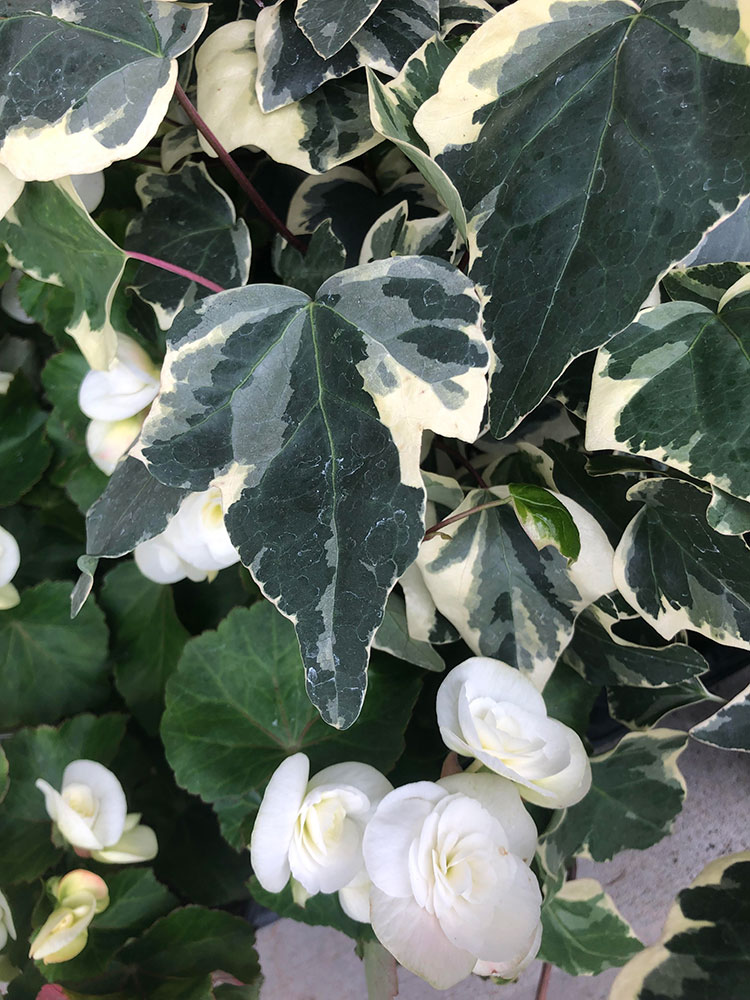
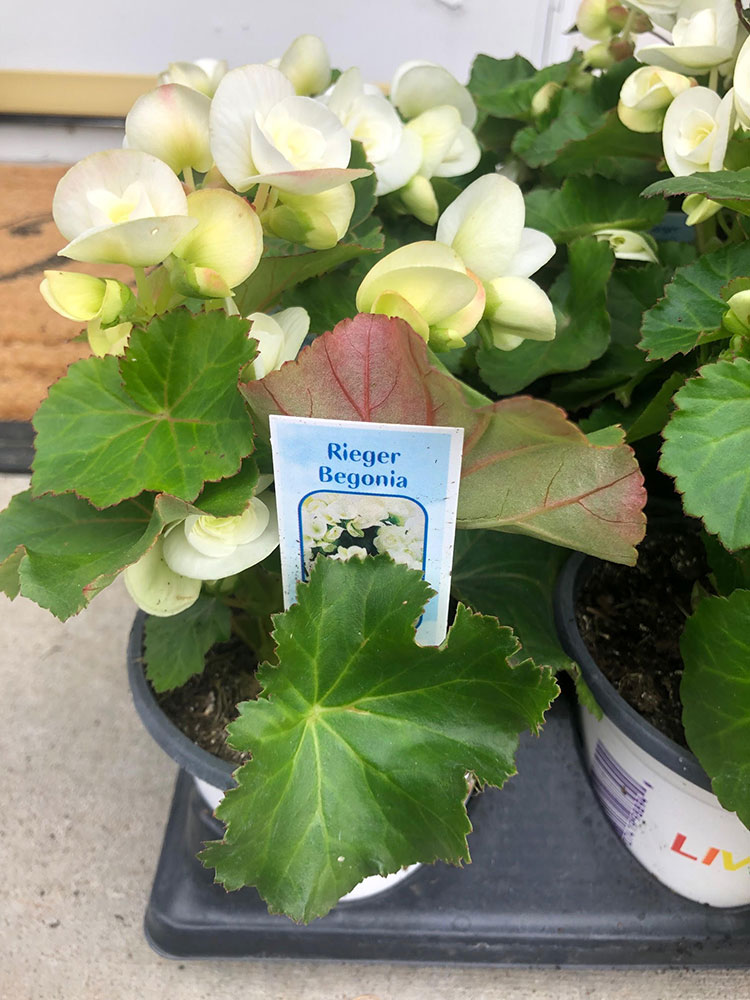
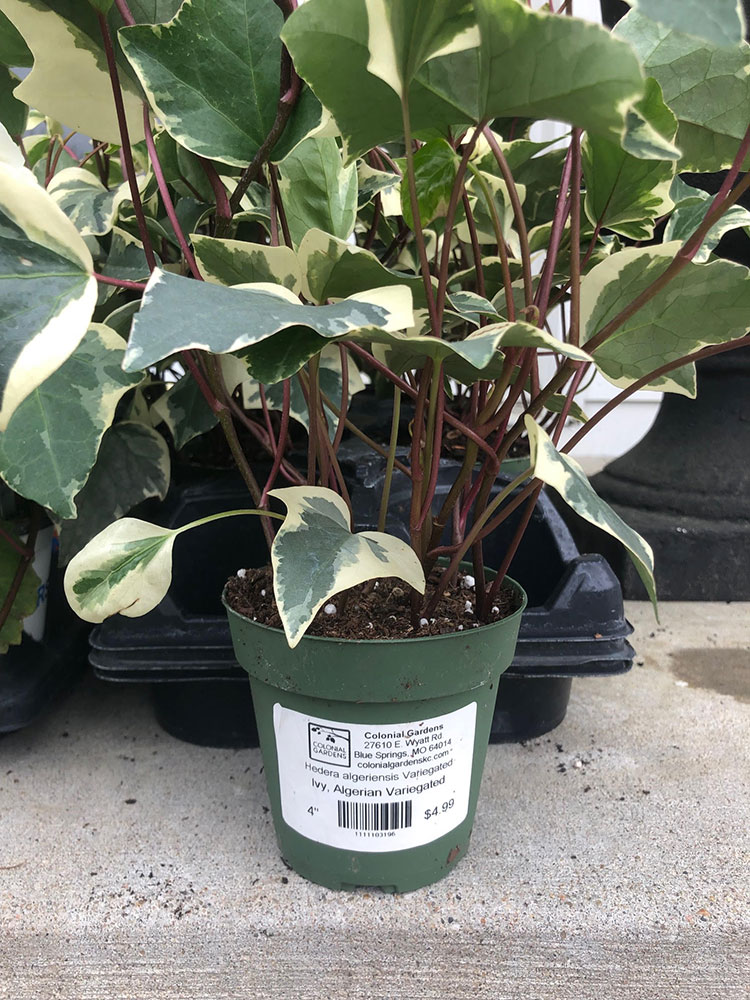
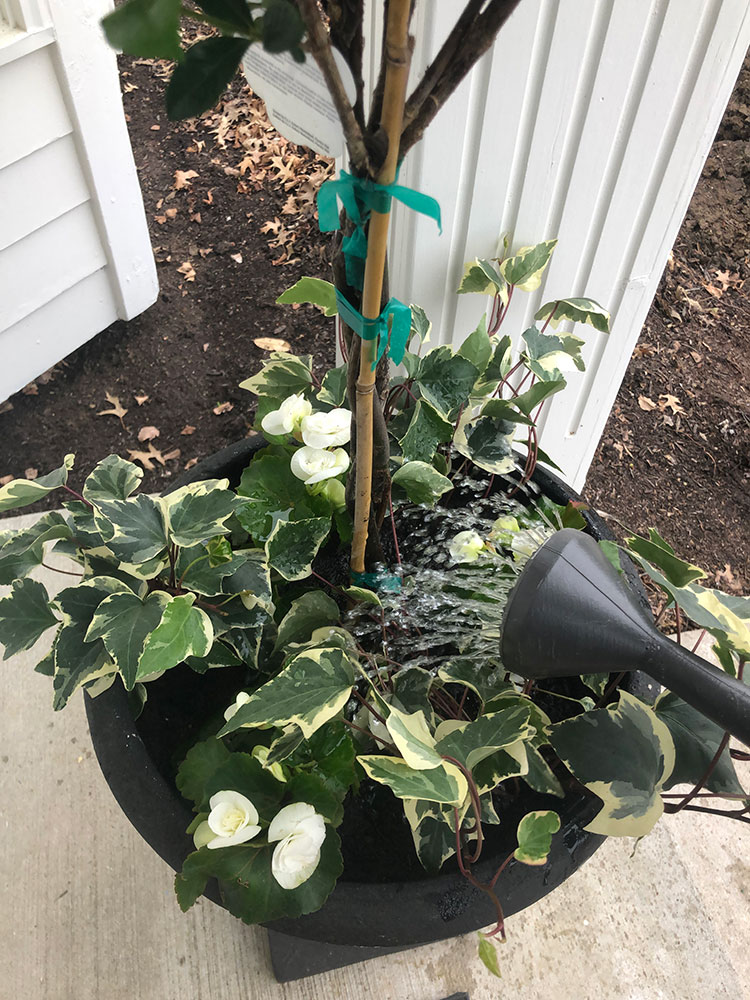
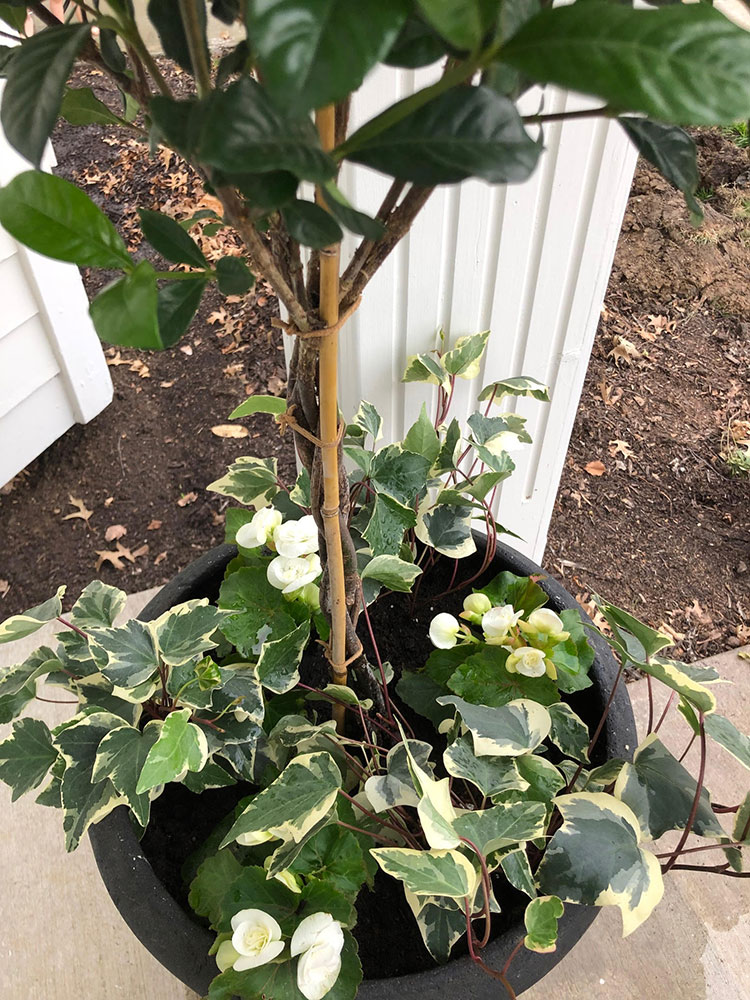
My first tip is to always take your pot’s measurements with you to get plants. A picture is nice too. Be sure to measure the smallest part of the opening. Many pots especially urns have really wide rims but very narrow circumference as you get down in it. The easiest way to fill pots like this is to think in levels: the thriller, the filler, and the spiller. The thriller is the plant that is your most showy and the tallest. Here I used a gardenia topiary, but it could be anything with size and presence. This will yield nice-sized white blooms most of the summer. Grasses are a popular choice, but I love the traditionalism of a topiary. The filler is what you use to fill the in between. Annual flowers that mound work nicely. I used a begonia that will eventually grow to take over most of the middle. Then the spiller is typically a vine or crawler. This variegated ivy is so striking with its maroon vine.
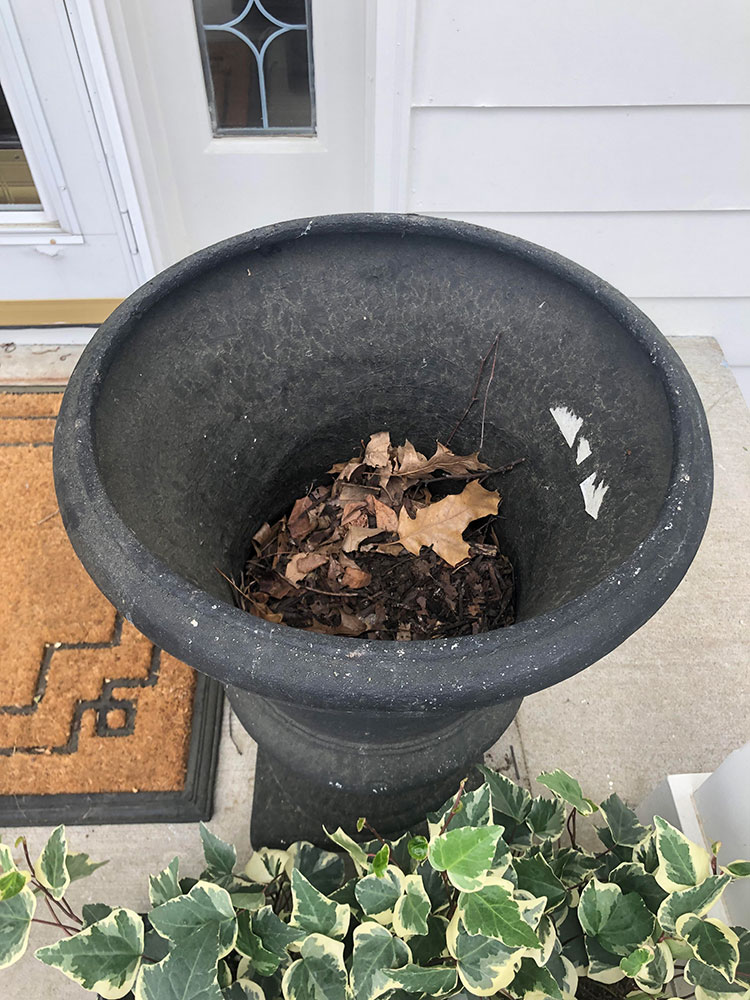
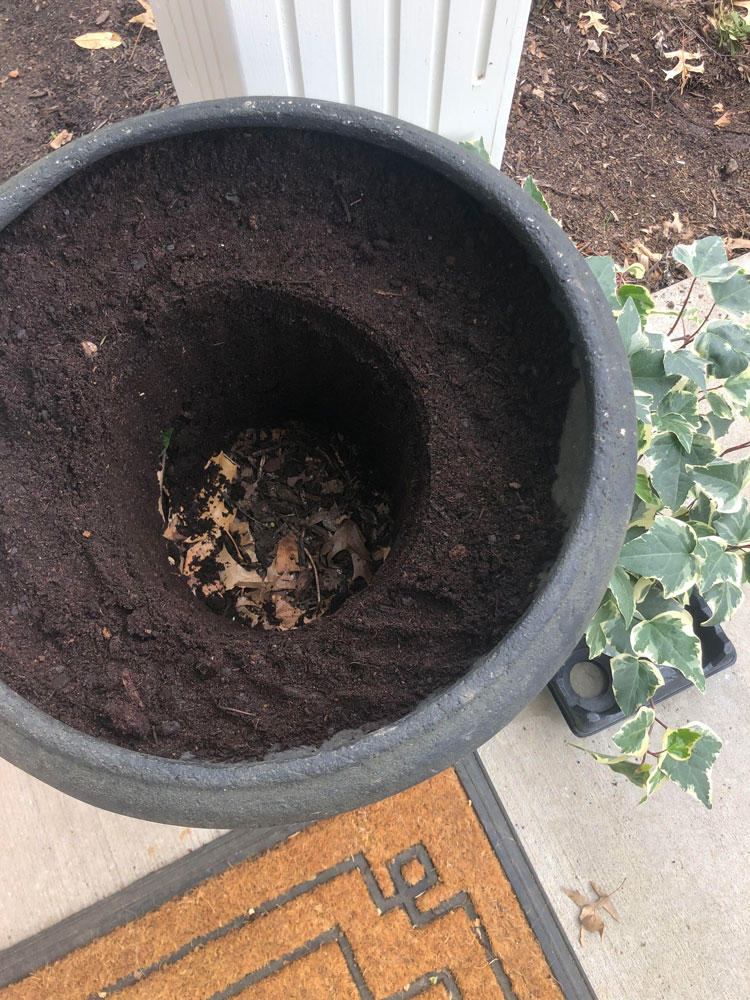
If your pot doesn’t already have a hole in the bottom, you’ll need to add one with a drill or screwdriver. These came with plugs, so I simply removed that. Then I added in an inch or two of landscape rock for extra drainage. Because the pot is so deep I gathered some old leaves and dirt to fill the next few inches. This just saves on potting soil. I added an inch of potting soil and then centered the gardenia’s trunks in the pot. Sometimes plants aren’t centered in the pots they come in, so you want to be sure to center the plant itself, not the mound of dirt. I learned from Monty Don that an efficient way to plant in a pot is to pack dirt in around the nursery pot. When you pull the plant out you have the exact place you need for it see pictures below! I always loosen the roots a bit after removing from a pot. You want to gently pull from the bottom of the middle outwards on all sides. This encourages the roots to not only spread down but out.
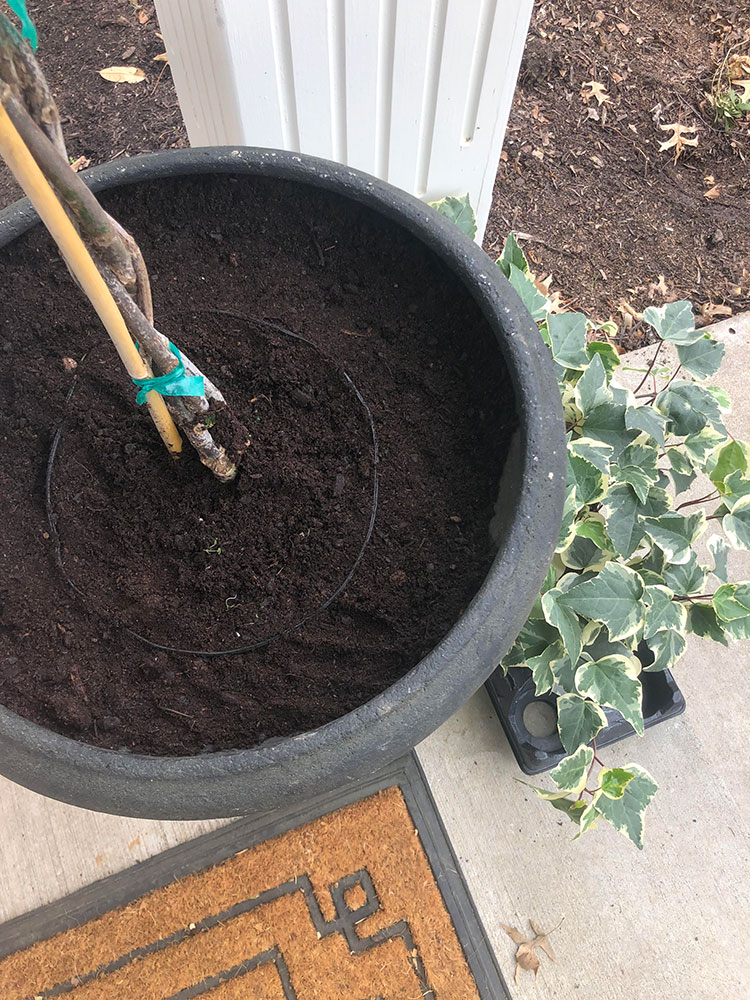
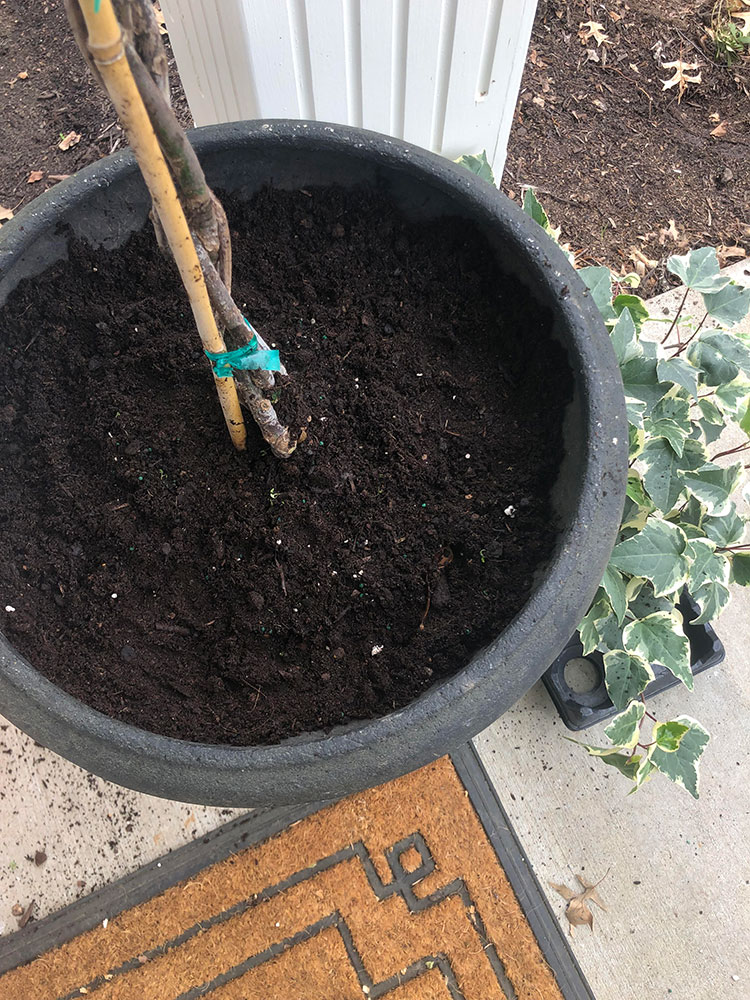
After planting the gardenias I place the fillers and spillers in the pots to figure out spacing. Like all design, odd numbers are best, and I had room to alternate three of each. If your pot is bigger you could do two separate rings. Because our pots can be seen from all sides,I potted the thriller in the middle and placed the others all the way around. If you’re planting against a wall or fence you can place the thriller at the back of the center and put the fillers and spillers around the front half. I just shoveled dirt to the side and for each smaller plant and made sure to press in around the base of each one to ensure the roots were covered. Once you have finished with the dirt, it’s a great time to brush off or blow away any access before you water. Once it gets wet it’s just muddy. I remove any leaves that aren’t looking so great at this point and also tie on some new twine that is more neutral. I couldn’t find mine ball of twine so I used leather.
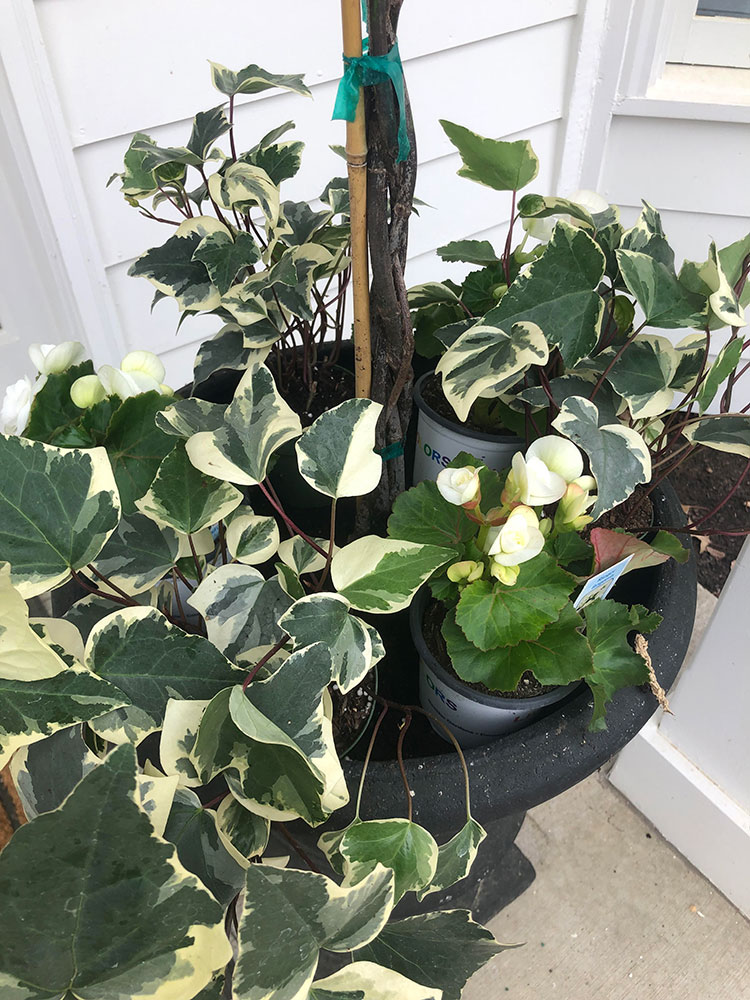
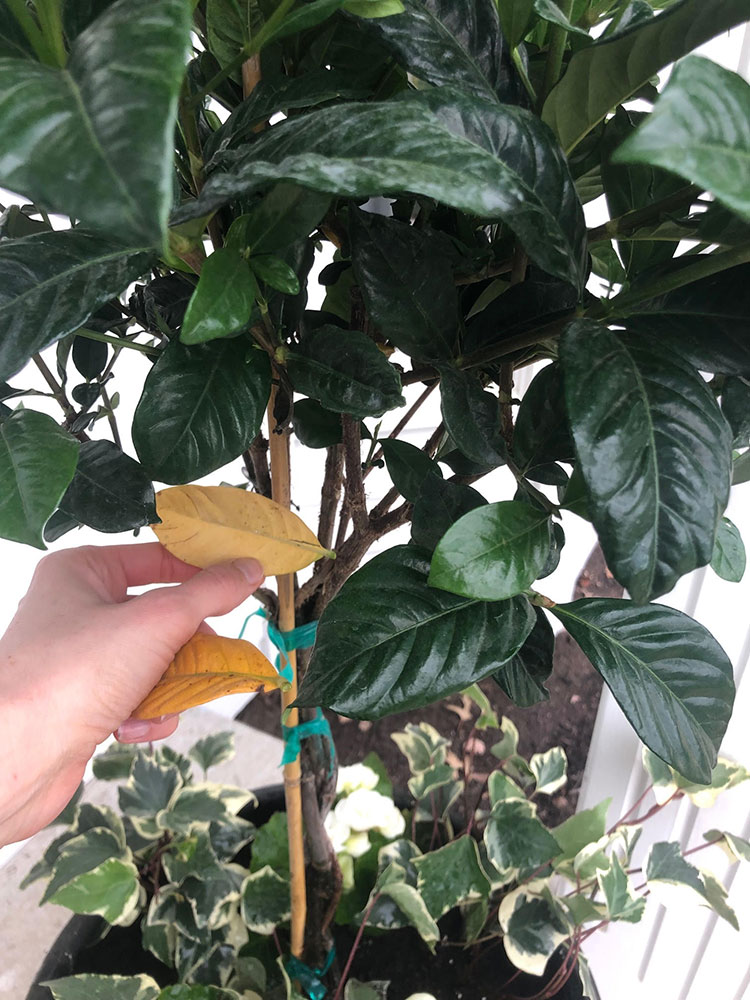
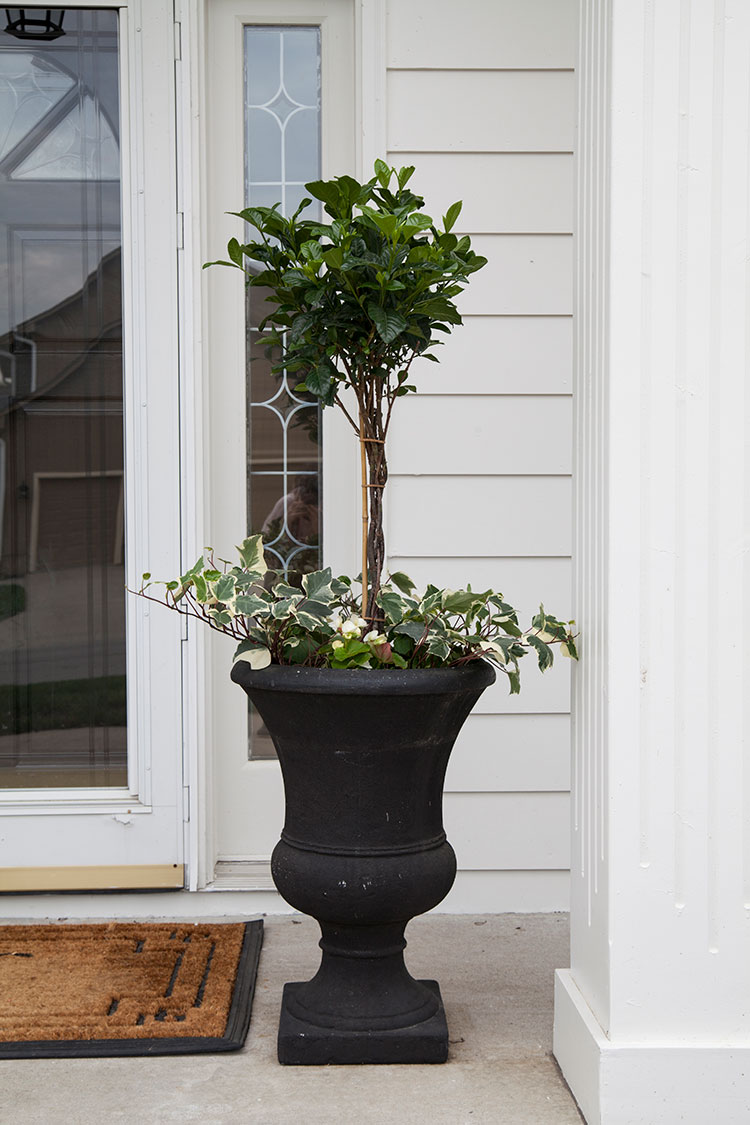
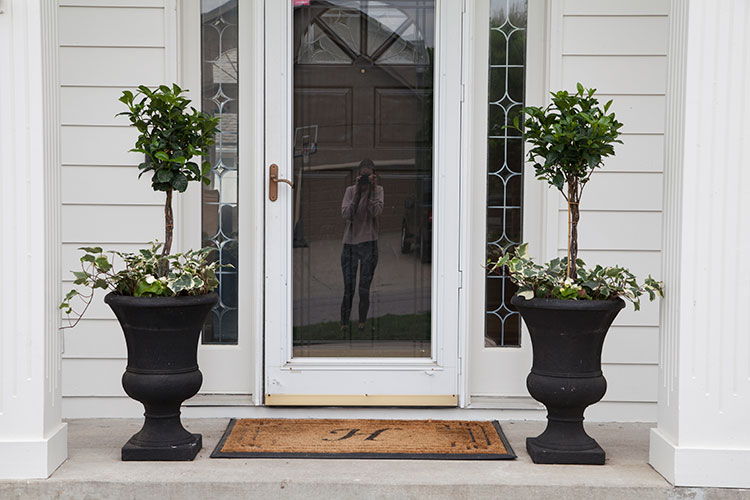
I really love this combination, and I can’t wait for it to get lush and full of gardenia blooms to greet guests with wonderful fragrance.
INSPIRED URNS: BLACK URN 1 | BLACK URN 2 | BLACK URN 3 | BLACK URN 4
Do you plant pots using this method? Would love to hear what some of your favorite plants to use are!
More of our planted pots can be viewed here.
My love of thrifting is always fun to join. Do you @ThriftWithTheMakerista?
Join Thrift Club for $35/year and follow along on on my private Instagram account; also, join the 1000s of members in the thrifting community on The Thrift Club Facebook Group and Market!
Are you shopping for a thrifter or perhaps want to splurge yourself, checkout Thrift Club merchandise.
Beautiful! I don’t know much about gardenias but love the fragrance. Do you know -can you plant them in the yard in the fall? Or can the pots be brought indoors over winter and kept alive until next year? Or do you just start fresh each year? Love your blog and all of your ideas!
Love the Monty Don tip! I’d never heard of him before but have enjoyed his French and Italian Garden series – thanks for introducing him to me. 🙂
Oh, good! I love what he shares so much!